How to Provide Server Access in Cloudways Hosting
Only account owners have the mandate to provide server access (add or delete team members) in Cloudways Hosting. With that said, the following steps will help you provide server access in Cloudways Hosting:
Step 1 – Create New Team Member Profile
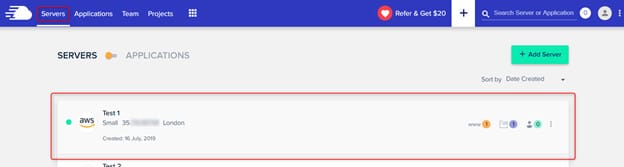
First log into your Cloudways Hosting account. Then click “Team” on the top menu bar.
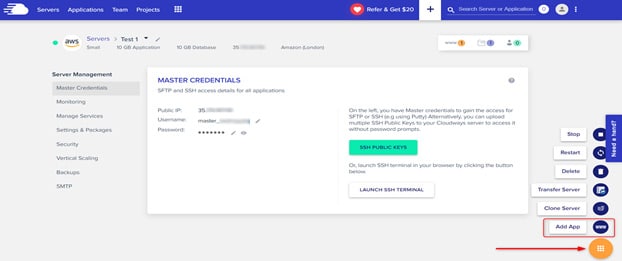
Click on Add icon on the menu bar, and choose the “Add Member” option.
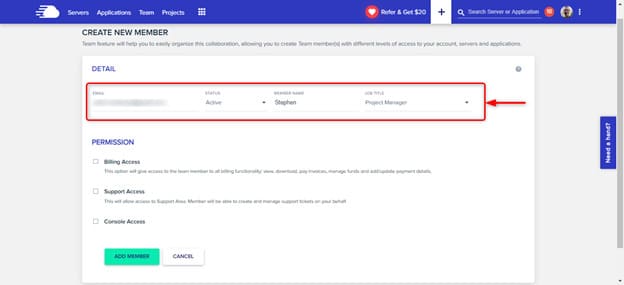
Cloudways Hosting will give you another bar for you to fill your team member details. Thereafter Choose the job and title from the menu and set it as Active.
Step 2 – Configure Access Level
Configure the access level for the team member depending on their operation preferences. You can configure server and application management, support, and billing areas. The level of the team member you will add depends on the collaborator’s operational choice.
Types of Access Levels
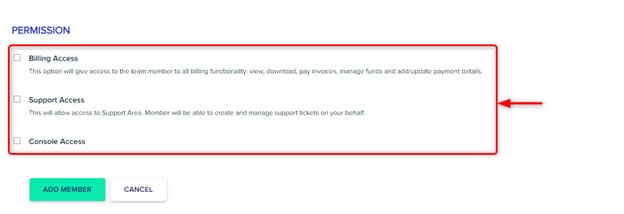
1. Server and Application Management – This allows the team member to access the server and the application areas. The team member can scale at any time without notifying the account owner. They don’t need to seek permission to log in. It also offers a separate dashboard for server and application monitoring.
2. Support Access – This level of access allows the team member entrance to the support area. The team member can generate and answer tickets on behalf of the account owner.
3. Billing Access. Here the team member has access to billing details. They can set pay, view, and download invoices. Team members with Billing Access also get invoice notifications and can update billing details.
Step 3 – Hosting Access
Cloudways Hosting is fine-tuned further to support access level. An account owner can provide full-access hosting or limited-access hosting. In detail;
Full Access
Team member gets full access to the server and application. The members are allowed to update credentials for all servers. The collaborators have logins to the Cloudways Hosting platform server. The collaborator can get entrance restart services, billing, and support areas.
Limited Access
With limited access level, the account owner has much control over what a team member can do. You can choose the number of servers the team member can add to your account and manage the account projects and add-ons.
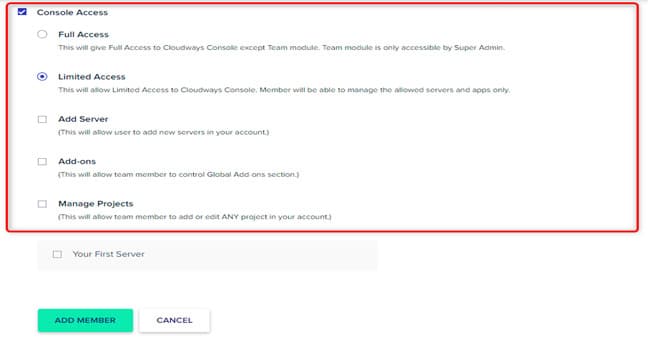
Step 4 – Add Member
After you are done, click on Add Member to complete the action. Cloudways Hosting will automatically add the member and an email with an activation link will be sent to them. They should use the link to create an access password.
This is the last step when providing server access in Cloudways Hosting. It should be noted that the choice of server access provided is determined by the team member’s operational needs.
Final Thoughts: Providing Server Access in Cloudways Hosting
One of the good things with Cloudways Hosting is that you can provide server access to a couple of members in your team. Doing this is not only easy but you can also give different levels of access to the different departments in your business. Just follow the steps above and you’ll share server access to your team members in no time.